It’s Never Too Late to Learn This Upcycling Trick!

Although Easter was last weekend (I’ve missed the boat), I thought it was worthwhile sharing this upcycled plastic bottle bunny craft video because, let’s face it, it doesn’t have to be a stand-alone Easter thing. This can make the perfect gift all year round (and you can change the animal if you want).

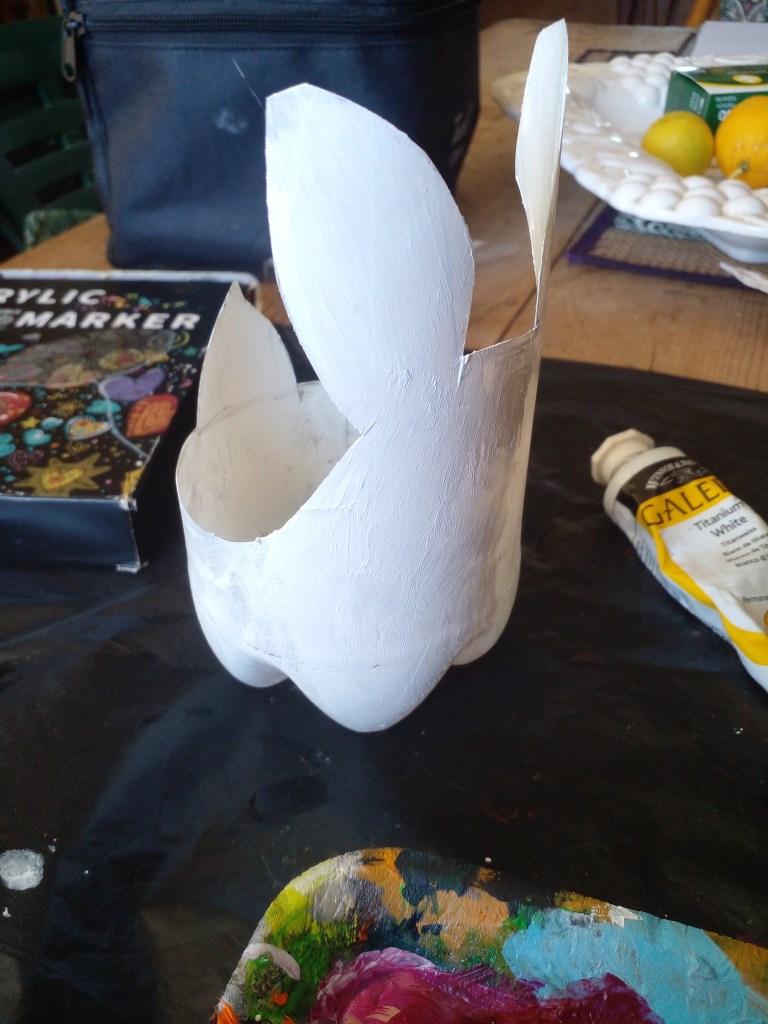
Not only can you stash some candy treats in their for a perfect gift, but you can also use it for a cute stationary storage ornament for your desk or, drill holes in the bottom and use it as a planter (again, making for another great gift).

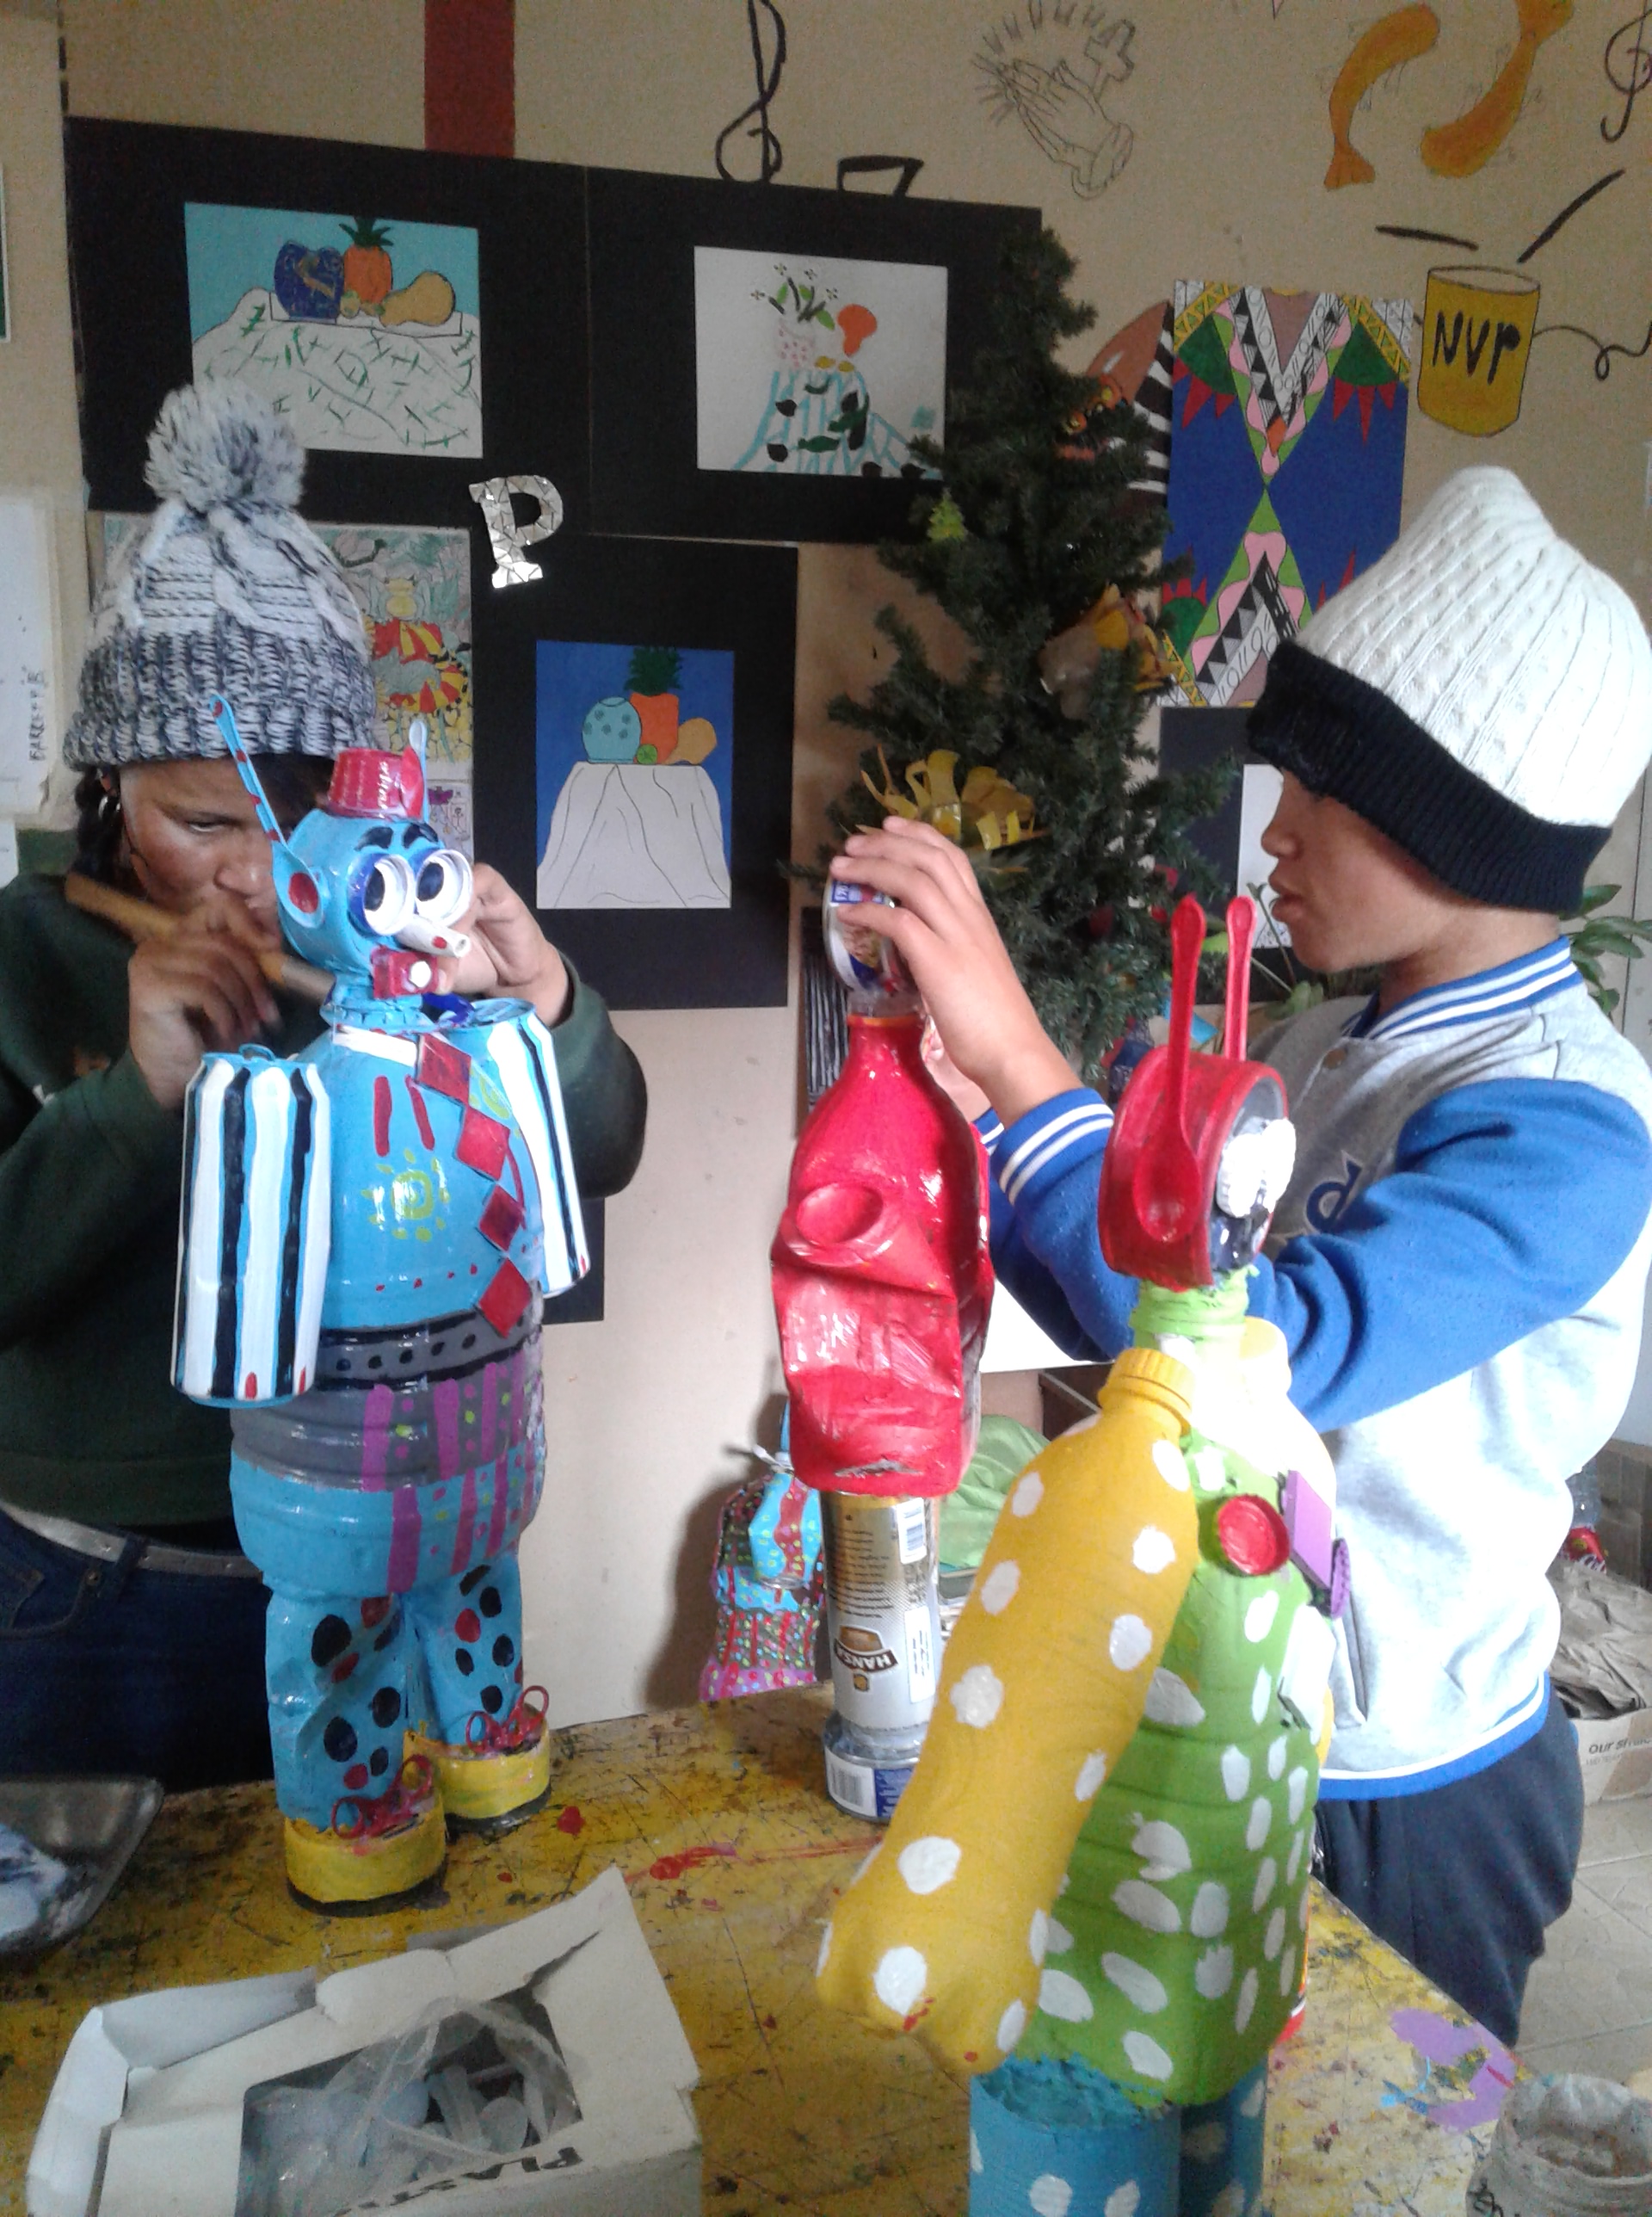
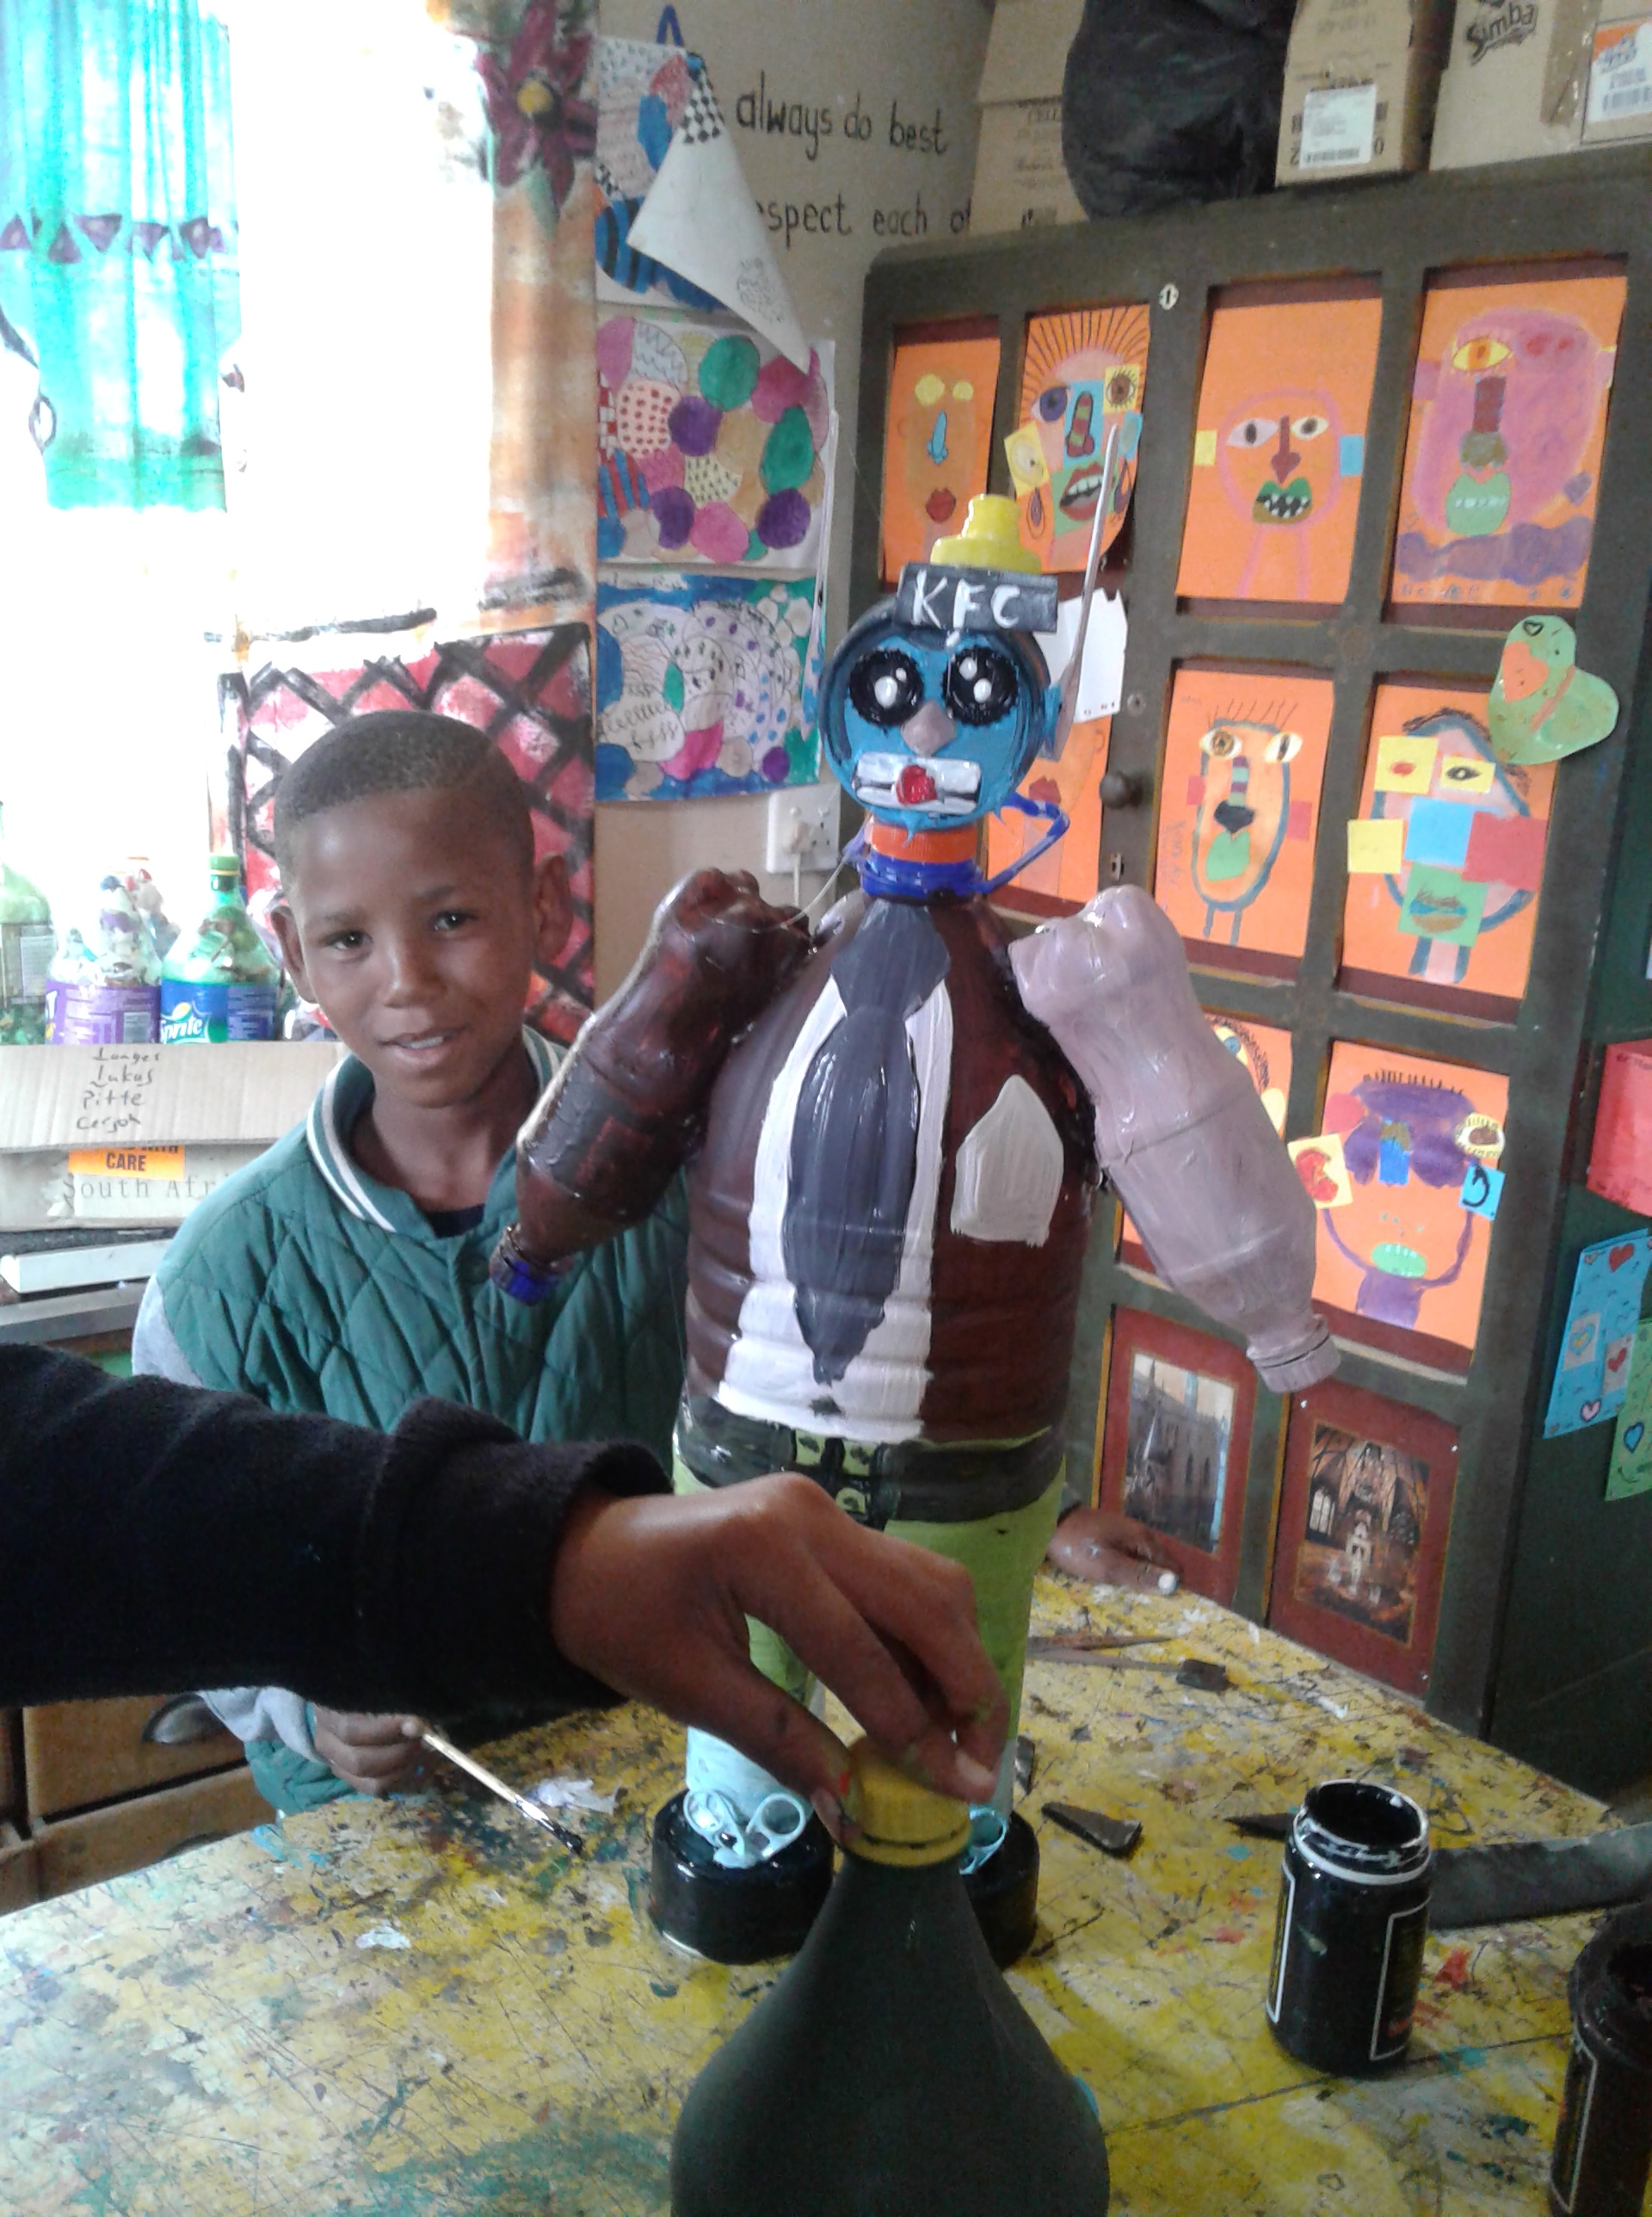
I have a community section at my YouTube channel where you can post your creations and let everyone see how your craft project turned out. All you have to do is subscribe to my channel HERE and head over to the community tab to post your photo’s. I also encourage the community to post anything creative they’ve been working on, it could be a painting, drawing, craft project, sculpture – anything goes. Sharing is caring!

Here’s the long-form video (if you’d like to see the short reel CLICK HERE):

Crafty Kids: Making Robots Out of Tin Cans and Recycling

Featured


I run the craft class in my local youth upliftment center (it’s called ‘Net vir Pret‘ which is Afrikaans for ‘Just for Fun‘). We mainly use recycled material (aka household trash) for our projects.

I’ve had so much interest with people visiting the class that I decided to share what we do with the world. I get a kick out of these classes and what’s possible to make out of waste, I hope it inspires you to do the same and it’s a great project to do with the kids during school vacations.

There’s nothing more important, in my mind, than a child who is encouraged to use their imagination and creative expression. And to couple that with using rubbish to produce fun and quirky creations, well, that’s just a bonus!

Don’t forget to pin it!

So, in today’s blog, we made robots. Here’s what you’ll need:

  1. A glue gun.
  2. Cans (we used beer/soda cans for the arms and legs and tuna cans for the feet and head).
  3. A 2l water bottle for the body. Hint: use an eco-brick as it gives it more weight and you recycle more rubbish! Find out what an eco-brick is and how to make an eco-brick in my article: Eco Bricks Just Might Help Save the Planet and YOU Can Start Yours Today!
  4. Acrylic craft paint and brushes. You have to use acrylic paint or spray-paint for it to stick to the bottle and to last. OPTIONAL: use an acrylic varnish for sealing and protecting once you’ve finished painting.
  5. Bottle caps, plastic spoons, etc (for accessories, eyes, ears, etc). The sky and your imagination are the limit here!

To begin, take your glue gun and make the structure of the body by gluing the arms, legs, feet, head and any other accessories you want to use.

Paint.

It’s as simple as that and your kids are going to love it!

Here are some photo’s of my students in action (to find out more about Net vir Pret click here) 🙂

Other articles you may enjoy:

Make Money Creating Beautiful Recycled Goodies Today!

10 Peculiar Pigments That’ll Turn Your Stomach!

9 Great Reasons for Getting Creative (No Artistic Experience Needed)